Create Calendar & Context Menu
DayFlow provides built-in capabilities for managing calendars directly from the sidebar. This includes creating new calendars and a context menu for managing existing ones.
Calendar Creation
The default sidebar includes a “plus” button that allows users to create new calendars. This feature supports two modes: Inline and Modal.
Configuration
You can configure the creation mode via the createSidebarPlugin configuration.
import { createSidebarPlugin } from '@dayflow/plugin-sidebar';
const sidebarPlugin = createSidebarPlugin({
createCalendarMode: 'inline', // 'inline' (default) or 'modal'
});
const calendar = useCalendarApp({
// ...
plugins: [sidebarPlugin],
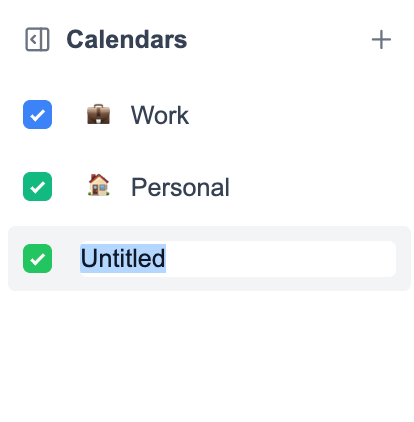
});Inline Mode (Default)
In inline mode, clicking the create button immediately adds a new “Untitled” calendar to the list and places it in edit mode. Users can type the name directly in the sidebar. The calendar is assigned a random color automatically.
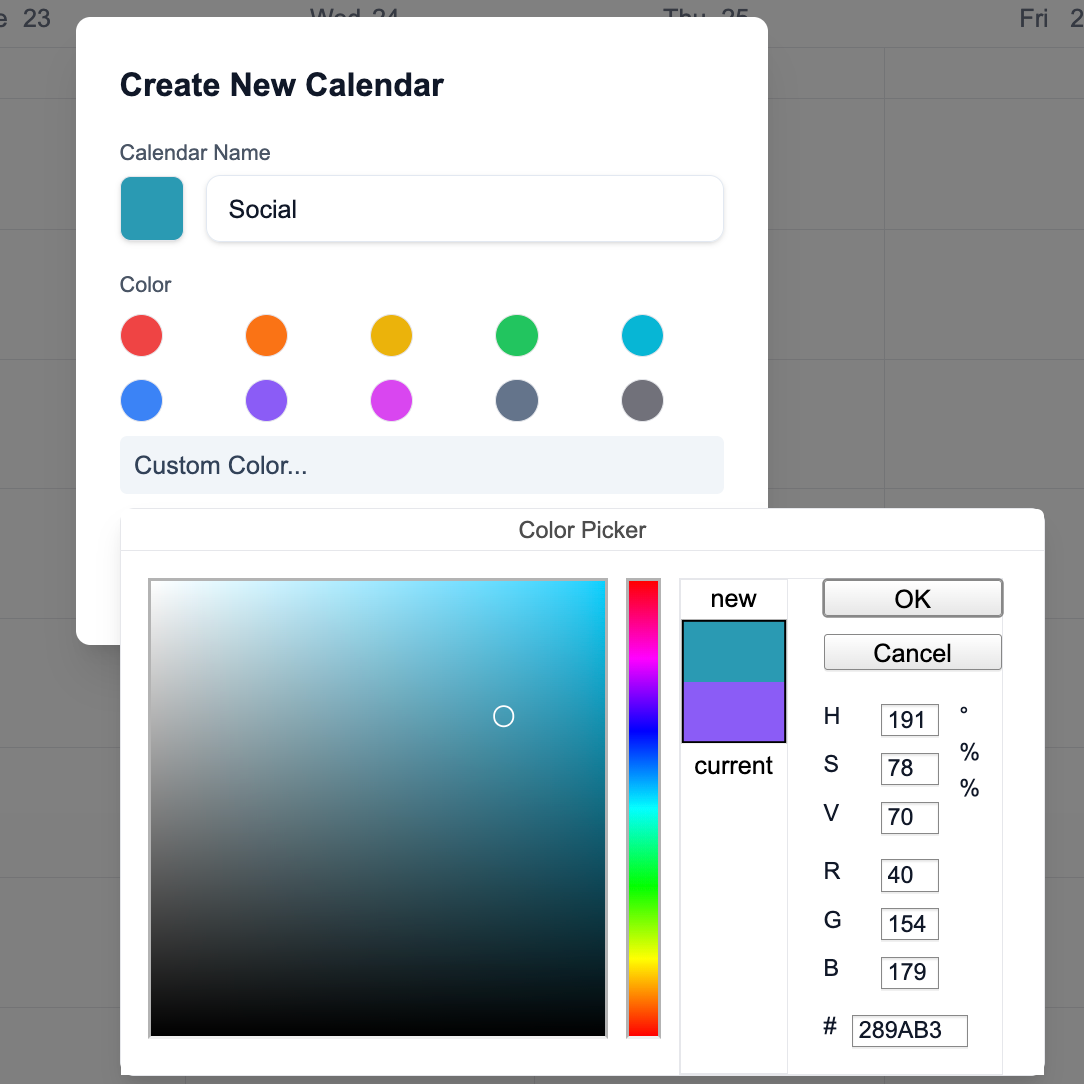
Modal Mode
In modal mode, clicking the create button opens a dialog where users can enter the calendar name and select a color from a preset palette.
The built-in color picker (previously react-color) is no longer included in
the core package to maintain framework-agnosticism. You need to provide your
own color picker component using Content
Slots.
createSidebarPlugin({
  createCalendarMode: 'modal',
});
Custom Creation Dialog
If you need a custom UI for the creation dialog, you can provide a renderCreateCalendarDialog function.
createSidebarPlugin({
  createCalendarMode: 'modal',
  renderCreateCalendarDialog: ({ onClose, onCreate }) => (
    <MyCustomDialog
      onCancel={onClose}
      onConfirm={(name, color) => {
        onCreate({
          /* ... new calendar object ... */
        });
      }}
    />
  ),
});
Context Menu
Right-clicking on a calendar in the sidebar opens a context menu.
Default Context Menu
The default context menu provides the following options:
- Color Picker: Allows users to change the calendar’s color.
- Delete: Allows users to delete the calendar.
Custom Context Menu
You can customize the context menu by providing a renderCalendarContextMenu function in the createSidebarPlugin configuration. This gives you full control over the menu items and their behavior.
createSidebarPlugin({
  renderCalendarContextMenu: (calendar, onClose) => (
    <div className='bg-white shadow-lg border rounded p-2'>
      <div className='px-3 py-1.5 text-xs font-semibold text-gray-500'>
        {calendar.name}
      </div>
      <div className='my-1 h-px bg-gray-200' />
      <button
        className='w-full text-left px-3 py-2 text-sm hover:bg-gray-100'
        onClick={() => {
          console.log('Custom action for', calendar.id);
          onClose();
        }}
      >
        Custom Action
      </button>
    </div>
  ),
});
Programmatic Control
The CalendarApp instance exposes methods to manage calendars programmatically, which you can use in your custom components:
app.createCalendar(calendar: CalendarType): Registers a new calendar.app.deleteCalendar(id: string): Removes a calendar by ID.app.updateCalendar(id: string, updates: Partial<CalendarType>): Updates calendar properties (name, colors, etc.).